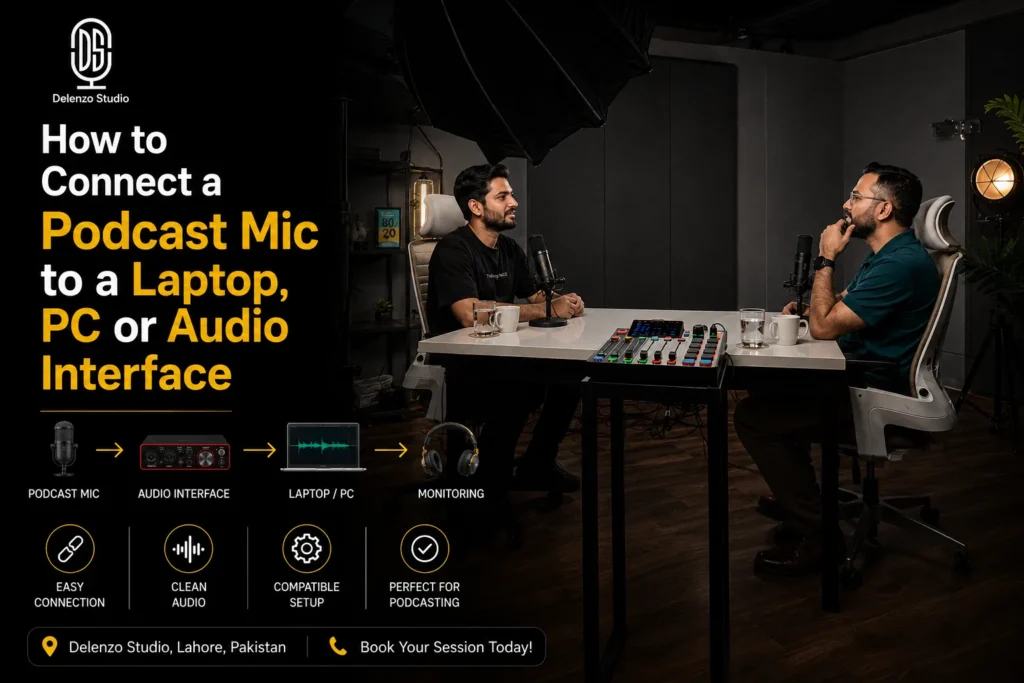
Connecting a podcast mic to a laptop depends entirely on the microphone type you own. A USB mic plugs straight into a laptop or PC. You then select it inside your sound settings and start recording immediately. An XLR mic works differently. It needs an audio interface or mixer sitting between the microphone and the computer. That interface converts the signal into something your computer can read. It also supplies phantom power to condenser microphones, which cannot work without it.
Both paths are simple once you know the order of steps. This blog post walks through each one, then covers the fixes for common problems. It is written as a podcast mic setup for beginners, so no prior audio experience is required.
What You Need Before Connecting Your Podcast Mic
A working podcast mic setup needs three things at the start:
- The microphone itself, either USB or XLR
- A laptop or PC with at least one free USB port
- Closed-back headphones for monitoring your own voice
XLR users add one more item to that list. An audio interface or small mixer sits between the microphone and the computer. That box is the middle step, and nothing works without it.
This guide covers two connection types. USB is direct and needs no extra hardware. XLR is routed through an interface or mixer. The table below shows how they compare in daily use.
| Feature | USB Mic | XLR Mic |
|---|---|---|
| Extra hardware | Usually none | Audio interface or mixer required |
| Phantom power | Usually built into the mic | Supplied by the audio interface or mixer when required |
| Typical setup time | 2 to 5 minutes | 10 to 20 minutes |
| Recording two people | More difficult, especially with a single mic | Simple with a 2 input audio interface and two XLR mics |
| Best suited to | Solo creators, beginners, and simple setups | Interviews, podcasts, and long term studio setups |
| Audio control | Basic to moderate | Greater control over gain and signal |
| Upgrade options | More limited | Highly flexible and expandable |
| Portability | Easy to carry and set up | Less portable due to additional equipment |
| Cost to start | Generally lower | Generally higher |
| Best for beginners | Yes | Better if you plan to build a serious setup |
How to Connect a Podcast Mic to a Laptop or PC
The USB route connects a podcast mic to a laptop in under five minutes. There are no drivers to hunt for in most cases. The operating system handles recognition on its own.
Step-by-Step USB Connection
- Plug the small end of the USB cable into the base of the microphone.
- Plug the other end into a free USB port on your computer.
- Wait a few seconds while the system detects the device automatically.
- Open Sound settings on Windows or System Settings on Mac.
- Set the microphone as the default input device.
- Speak at normal volume and watch the input meter move.
Windows users who want to connect podcast mic to PC systems follow this exact order. The Mac process is identical, only the settings menu name changes.
Use a port built directly into the machine wherever possible. Unpowered USB hubs are a frequent cause of dropouts and weak signals. If the meter stays flat, move the cable to another port first.
Setting Up Zero-Latency Monitoring
Many USB podcast mics include a headphone jack on the microphone body. That jack usually carries a direct monitoring toggle or a blend dial. Direct monitoring sends your voice to the headphones before it reaches the computer. You hear yourself instantly, with no delay at all.
Without this feature, your voice travels into the recording software and back out again. That round trip creates a small echo behind every word. Speaking through that echo is difficult and it changes your natural pace.
Plug your headphones into the microphone, not the laptop, when the mic offers this jack. If your mic has no headphone output, lower the software monitoring level instead. Recording without monitoring is better than recording through a delayed signal.
USB-C vs. USB-A: A Practical Pakistan Note
Port type matters more than most buying guides admit. Many budget and older laptops sold across Pakistan still carry USB-A ports only. Newer ultrabooks often ship with USB-C ports and nothing else.
Podcast microphones vary in what they include inside the box. Some ship with a USB-C to USB-C cable only. That cable will not fit an older laptop without an adapter in between.
Check your own ports before you buy anything. This short list saves a second trip to the shop:
- Count the USB-A and USB-C ports on your laptop.
- Read the product listing for the exact cable included.
- Buy a proper USB-C to USB-A adapter if the two do not match.
- Avoid unbranded adapters, since some carry power but not clean data.
A three hundred rupee adapter can save an expensive microphone from sitting unused. It is worth confirming before checkout rather than after delivery.
How to Connect an XLR Podcast Mic to an Audio Interface
An audio interface setup for podcasting adds a few steps to the process. In return, you get better sound control, room for a second microphone and easier upgrades later.
Step-by-Step XLR Connection
- Push the XLR cable into the base of the microphone until it clicks.
- Plug the other end into the XLR input on the interface.
- Connect the interface to your computer using its USB or Thunderbolt cable.
- Power on the interface if it uses an external power adapter.
- Install the manufacturer drivers if the brand requires them.
- Select the interface as your input device inside sound settings.
Mac machines usually work without any driver installation at all. Many Windows setups need the official driver for stable performance. Download that file from the manufacturer site rather than a third-party page.
Plug your headphones into the interface headphone jack, not the laptop. The interface gives you a cleaner monitoring path and a dedicated volume knob.
Enabling Phantom Power for Condenser Mics
Phantom power is a small 48 volt current sent from the interface to the microphone. Condenser mics need that current to produce any signal at all. Dynamic mics generate their own signal and need nothing extra from the interface.
Here is how to enable phantom power on audio interface units in practice:
- Look for a button or switch marked +48V on the front panel.
- Turn the gain knob down before you press it.
- Press the switch and wait a few seconds for the mic to settle.
- On some newer interfaces, the toggle sits inside the control software instead.
Leaving +48V switched on will not damage a standard dynamic microphone. Ribbon microphones are the exception and can be harmed by it. Still, switch the power off before unplugging any cable. That habit prevents loud pops through your headphones.
Setting Gain Levels Correctly
Gain controls how much the interface amplifies your microphone signal. Always set it while speaking at your true recording volume. People speak louder once recording starts, and quiet test levels lead to clipping.
Turn the gain knob up slowly while talking. Stop once the meter sits in a healthy range below the red indicator. Then record ten seconds and play it back before starting the episode.
| Meter reading | What it means | What to do |
| Below -24 dB | Signal is too weak | Raise gain or move closer |
| -18 dB to -12 dB | Healthy average level | Leave the setting alone |
| -6 dB on peaks | Loud but still safe | Acceptable for excited moments |
| 0 dB or red light | Clipping and distortion | Lower gain right away |
Fixing Common Podcast Mic Connection Problems
Most podcast mic connection problems come from three causes: the wrong input device selected, an incorrect gain level, or a missing driver. Each one is fixable in minutes without replacing any equipment. The three sections below cover detection failures, level problems and condenser mic noise in that order.
Mic Not Detected or No Sound at All
This is the most common issue and it usually has a simple cause. Work through this podcast mic not detected fix list in order:
- Confirm the cable is seated fully at both ends.
- Try a different USB port built into the machine.
- Open sound settings and check the selected input device.
- Switch away from the built-in laptop microphone if it reset itself.
- Restart your recording software after changing any input setting.
- Reinstall the mic or interface driver if the problem continues.
Windows often reverts to the internal microphone after a system update. Check that setting before assuming the hardware has failed.
Signal Too Quiet or Too Loud and Distorted
Both problems trace back to gain and distance. The fix moves in two directions.
For a weak signal, raise the input gain first. Then move closer, roughly a fist width from the microphone. For a distorted or clipping signal, lower the gain instead. Then increase your distance slightly and speak across the mic rather than into it.
Never repair a quiet recording by raising volume during editing. That step lifts room noise and fan hum along with your voice.
Condenser Mic Sounds Noisy Even When Connected Correctly
Some very low-cost, bus-powered interfaces struggle to deliver true 48 volt phantom power. The current available over USB is limited. A condenser mic receiving less than the full voltage may behave unpredictably.
Watch for these signs:
- Hiss that does not reduce when you lower the gain.
- Levels that rise and fall without any change in your voice.
- A thin, weak tone compared with reference recordings of the same mic.
Check the interface specification sheet for its stated phantom power voltage. Units with an external power supply hold that voltage far more reliably. Moving to a dynamic microphone also removes the problem completely.
Common Mistakes When Connecting a Podcast Mic
- Leaving the built-in mic selected. The laptop microphone stays active until you change the input device manually.
- Forgetting phantom power on a condenser mic. The result is silence or an extremely weak signal that no gain setting fixes.
- Using a cheap bus-powered interface with a condenser mic. Without a separate power supply, clean 48 volt delivery is not guaranteed.
- Monitoring through laptop speakers. Open speakers cause feedback and give a false sense of your actual recording level.
- Skipping the test recording. Clipping discovered after a full episode cannot be repaired in editing.
Best Affordable Podcast Studio Rent in Lahore
Some creators prefer to skip the hardware learning curve entirely. A ready room removes cable checks, driver installs and gain guesswork from the day.
Delenzo Studio in High Q Tower, Gulberg V, runs a fully equipped podcast studio for creators. Microphones, interfaces and monitoring are already connected and level checked before you arrive. You sit down, put on headphones and record.
Reasons this suits first-time podcasters searching for a podcast studio near me:
- Professional microphones and interfaces are pre-configured and tested daily.
- Treated room acoustics remove the echo that home rooms carry.
- Multi-camera video recording runs alongside the audio in the same session.
- Editing support is available once your recording is finished.
Ready to Record Your Podcast?
Record your next podcast at Delenzo Studio with a professional space, quality equipment, and everything you need for a great recording.
Book Your Podcast SessionFor creators comparing affordable podcast studio rent Lahore options, hourly booking keeps costs predictable. One session costs far less than buying a full home setup. That makes a podcast studio in Lahore a practical way to test a show idea first.
Conclusion: Getting Your Podcast Mic Connected and Recording
Connecting a podcast mic to a laptop comes down to two clear paths. USB is the direct route, with fewer steps and almost no configuration. XLR through an audio interface takes longer to set up. It rewards that time with better sound quality, room for guests and easier upgrades.
Most connection problems trace back to two things only. The wrong input device is selected, or the gain level is set poorly. Check both before replacing any equipment.
For the full picture beyond connection alone, read our podcast microphone setup guide. If you are still choosing hardware, compare your options in audio interface vs mixer for podcasting.
Prefer to record instead of troubleshooting? Book a session at Delenzo Studio and walk into a room that is already set up and ready.
Frequently Asked Questions
Plug the USB cable into the mic and a free laptop port. Wait for automatic detection. Then open sound settings and select the mic as your default input device.
An XLR microphone sends an analog signal your computer cannot read. The audio interface converts that signal to digital. It also supplies the phantom power that condenser microphones require to work.
The wrong input device is usually selected. Open sound settings and switch from the built-in laptop mic to your USB mic or interface. Then check the cable and reinstall drivers.
Phantom power is a 48 volt current sent from an audio interface to the microphone. Turn it on only for condenser microphones. Dynamic mics generate their own signal and need nothing.
Buy an interface if you record weekly and want long term control. Book a studio if you record occasionally. Delenzo Studio in Lahore offers hourly rates with all equipment already connected.