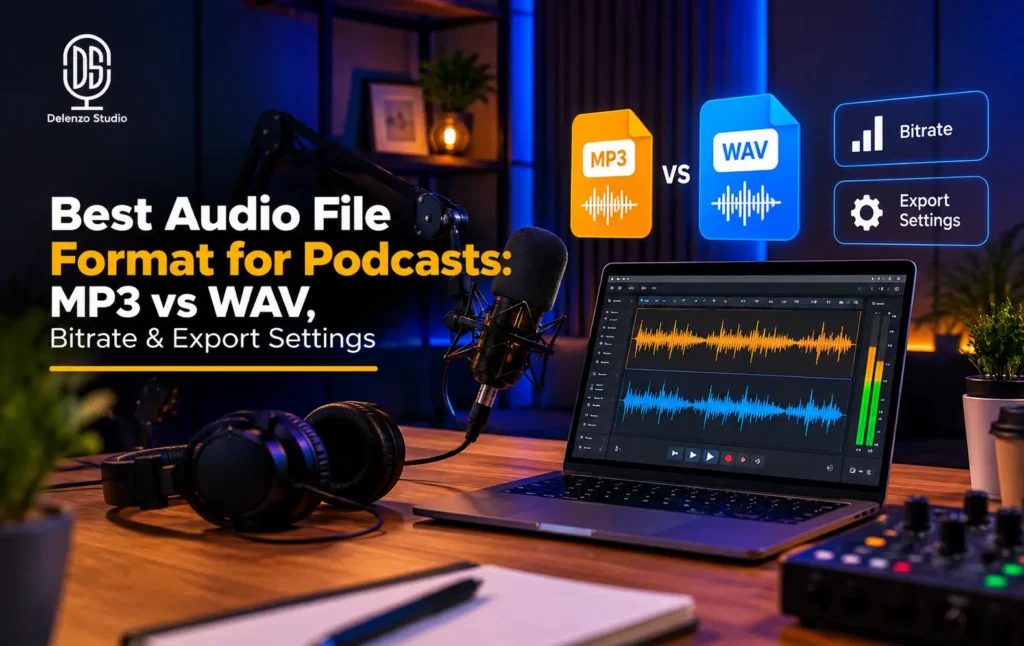
An audio file format is a standard way to store digital audio data on a computer system. MP3 is the industry-standard audio file format for podcasts for publishing and distributing episodes, while WAV is commonly used during the recording and editing phases. The best audio file format for podcast production depends on the stage. Record and edit in WAV, keep a WAV master, then publish what your host recommends. Apple Podcasts recommends AAC, Spotify for Creators accepts MP3, M4A and WAV, and YouTube prefers AAC-LC audio at 48 kHz.
Rules change, so check your host’s current requirements before exporting. Below, you’ll find the right format for each stage, simple export settings and the mistakes to avoid.
Which Audio Format Should You Use for a Podcast?
Your podcast audio format should change as the episode moves from mic to listener. Use this table as a starting point.
| Stage | Recommended Starting Point | Why |
|---|---|---|
| Recording | WAV | Preserves source quality and gives more flexibility for editing. |
| Editing / master | WAV | Keep a high-quality master before creating delivery files. |
| Publishing audio episode | MP3 or AAC/M4A per host guidance | Smaller delivery files; platform support varies by workflow. |
| Video podcast | WAV audio at a video-friendly sample rate + final video export | Keeps audio editable while matching video production workflow. |
| Long-term archive | WAV or FLAC | Lossless master/archive quality. |
WAV is lossless. It stores every sample your recorder captured, so nothing gets thrown away. MP3 and AAC are lossy formats. They remove sounds the ear is unlikely to notice, which makes the file far smaller.
Here is roughly what that means for a one-hour episode:
| File Type | Approx. Size (60 Minutes) |
|---|---|
| WAV, 24-bit, 48 kHz, stereo | About 1 GB |
| WAV, 16-bit, 44.1 kHz, stereo | About 635 MB |
| MP3, 128 kbps, stereo | About 58 MB |
| MP3, 96 kbps, mono | About 43 MB |
That gap explains the whole WAV vs MP3 podcast debate. WAV wins in the editing room. MP3 wins in the listener’s pocket, where people stream on mobile data and download episodes for the commute.
Treat the MP3 vs WAV for podcast decision as a hand-off rather than a contest. The classic rule, record WAV publish MP3, still works for most shows.
AAC is the third option worth knowing. It usually sounds a little cleaner than MP3 at the same bitrate, and it lives inside .m4a files. On AAC vs MP3 podcast distribution, MP3 still has the widest playback support across old and new apps. AAC, on the other hand, is what Apple recommends.
For the audio format for Apple Podcasts, Apple’s RSS rules accept MP3 and AAC, with AAC as its preferred choice. The audio format for Spotify podcasts is more flexible. Spotify for Creators takes MP3, M4A and WAV uploads. Many other hosts expect a compressed RSS podcast audio format, usually MP3. A quick look at your host’s upload page will confirm what it wants.
Best Podcast Export Settings
Your best podcast export settings come down to five choices: format, bitrate, sample rate, bit depth and channels. Get those right once, write them down, and every episode will match.
Spoken-Word Audio Podcast Export
Talk shows don’t need complicated settings. The values below are common starting points for spoken-word episodes.
| Setting | Common Starting Point | Notes |
|---|---|---|
| Delivery format | MP3 or AAC/M4A | Follow your host’s guidance |
| Bitrate (mono speech) | 64 to 96 kbps | Clear voice, small file (Apple suggests 96 kbps or more for mono MP3) |
| Bitrate (stereo) | 128 kbps | Good for two-channel mixes |
| Bitrate (music-heavy) | 192 kbps or higher | Protects music detail |
| Bitrate mode | Constant (CBR) | Fewer timestamp glitches in players |
| Sample rate | 44.1 kHz or 48 kHz | Match your project rate |
| Recording bit depth | 24-bit | Extra headroom while recording |
| Channels | Mono or stereo | Based on the content |
A higher podcast bitrate doesn’t always mean better sound. For speech, 96 kbps mono sounds almost the same as 192 kbps, at half the file size.
Your podcast sample rate matters most while recording and editing. On the 44.1 kHz vs 48 kHz podcast choice, 44.1 kHz is the standard for audio-only shows. Video uses 48 kHz. Pick one rate for the whole project, and choose 48 kHz if video is involved.
Record at 24-bit if your interface allows it. You get more room before loud moments clip, with less hiss. For the final MP3 or AAC file, you only need to set bitrate and sample rate.
For long-term storage, FLAC is a smart pick. It keeps WAV quality but usually takes about half the space.
Before every export, check these:
- Delivery format: MP3 or AAC/M4A, based on your host’s rules.
- Channels: On the mono vs stereo podcast choice, use mono for voice-only shows. Use stereo when music or ambience adds something.
- Master file: Save a WAV master for podcast episodes before you encode. Every future version starts from it.
- Metadata and playback: Check the title, description and artwork. After upload, play the episode in your host’s player and one listening app.
Adobe Audition podcast export settings take about a minute. Go to File > Export > Multitrack Mixdown > Entire Session. Choose MP3 Audio, then set sample rate and channels under Sample Type. Under Format Settings, pick constant bitrate and your target kbps. For the master, export again as Wave PCM at 24-bit. If you edit in Audition, our Adobe Audition podcast editing workflow covers cleanup, levels and mixing before this step.
Loudness and Quality Control
Uneven loudness annoys listeners fast. One episode is quiet, the next is loud, and people keep reaching for the volume button.
Aim for steady loudness across episodes rather than one magic number. Hosts and networks set their own targets, and those can change. Check your host’s current LUFS and true-peak guidance, then use the same target on every episode.
To make that easy, save your mastering chain as a preset. Each new episode then starts with the same compressor, EQ and limiter settings.
Before publishing, do a final check:
- Listen on headphones for clicks, mouth noise and cut-off words.
- Play it on a phone speaker to catch muddy bass and harsh “s” sounds.
- Spot check the start, middle and end of the encoded file.
- Confirm the length matches your edit, with the outro intact.
Audio Format by Podcast Type
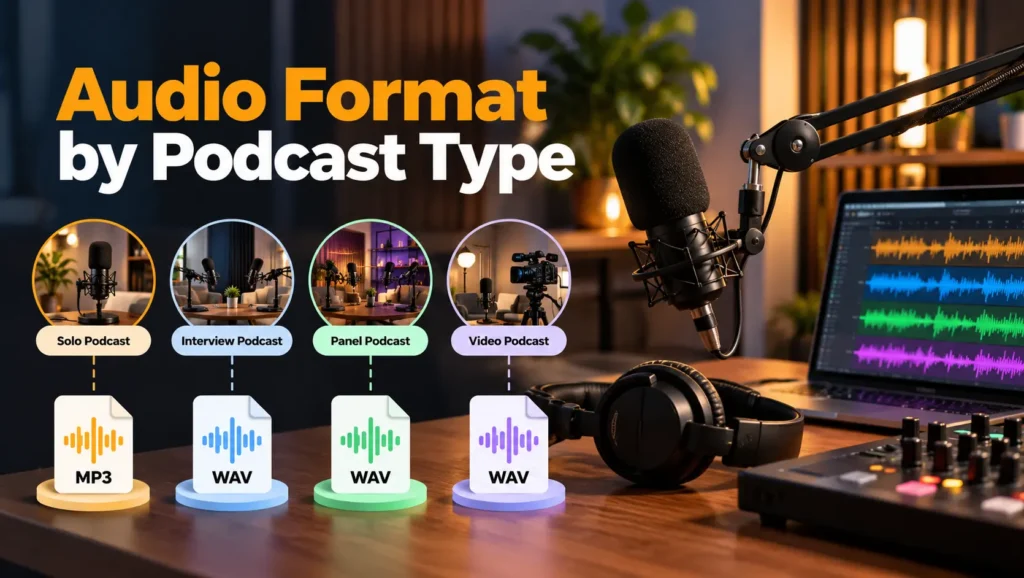
A solo commentary show and a two-camera video podcast have different needs. The core rule stays the same, though. This table shows the best audio file format for podcast work across common show types.
| Podcast Type | Record / Edit | Delivery |
|---|---|---|
| Solo voice | WAV | MP3 or AAC per host guidance |
| Two-person interview | WAV, preferably separate tracks | MP3 or AAC per host guidance |
| Remote interview | Lossless / WAV individual tracks where available | Compressed delivery file after mix/master |
| Video podcast | WAV / 48 kHz workflow | Audio feed separately; platform-specific video export |
| Music + interview | WAV | Higher-quality compressed delivery where appropriate |
| Reels / audiograms | WAV master | Audio encoded inside final video file |
A few practical notes on each type:
- Two-person interviews: Separate tracks let your editor level each voice and clean up cross-talk. A single mixed track locks those problems in.
- Remote interviews: Tools like Riverside record each guest locally, then upload the file. That approach avoids the dropouts and compression of a live internet call.
- Video podcasts: A video podcast 48 kHz audio workflow keeps cameras, recorders and editing software on the same clock. Premiere Pro and DaVinci Resolve both handle 48 kHz projects without fuss. Long episodes stay in sync, and you can still export an audio-only MP3 or AAC for your RSS feed.
- Music and interview shows: Music exposes compression faster than speech does. Stereo at 128 kbps or higher keeps instruments from sounding smeared.
- Reels and audiograms: Cut these from the WAV master, not the published MP3. The audio then gets encoded only once, inside the final video file.
Better recording matters more than file format. A WAV file of a bad recording is still a bad recording. Start with the right mic: our guide to the best microphone for podcast recording in Pakistan compares options by budget. The room matters just as much. A treated space, like a professional podcast studio in Lahore, gives you clean WAV files that need far less fixing later.
Common Podcast Audio Format Mistakes
Most format problems come from small habits. Watch out for these:
- Recording straight to MP3. A compressed source gives you less to work with in the edit. Record WAV and compress at the end.
- Re-exporting MP3s while editing. Each export strips more detail, and voices start to sound hollow.
- Mixing 44.1 kHz and 48 kHz files. Mismatched rates cause drift and sync errors. Convert everything to one rate first.
- Uploading huge WAV files. Some hosts reject them or re-encode them badly. Send the format your host asks for.
- Using stereo for a single voice. It doubles the file size with no benefit. Mono sounds the same.
- Not archiving your WAV master. Without it, every future clip or remaster starts from a lossy copy. Back it up on a drive and in the cloud.
- Expecting a higher bitrate to fix bad audio. Bitrate can’t remove echo, clipping or poor mic placement. Real podcast audio quality starts with the mic and the room. This guide on how to fix echo and reverb in a podcast covers practical fixes.
- Skipping a final listen. Encoding can add glitches the WAV didn’t have. Play the finished file before it goes live.
Final Recommendation: The Simple Podcast Audio Workflow
A clean podcast export workflow comes down to four steps:
- Record clean. Capture WAV at 24-bit, at 44.1 kHz for audio-only shows or 48 kHz when video is involved. The right podcast equipment and recording setup makes this step much easier.
- Edit losslessly. Keep every session file in WAV until the mix is finished.
- Save the master. Export a full-quality WAV master and archive it with the original tracks.
- Encode and upload to host requirements. Create the MP3 or AAC/M4A delivery file your host or distributor asks for, then check playback.
In short, the best audio file format for podcast creators isn’t just one format. Use WAV for recording, editing and mastering. Then use MP3 or AAC/M4A for delivery, based on your host’s rules. That way, your sound stays protected and your archive stays ready for later.
File size matters a lot for listeners in Pakistan, since many stream on mobile data. A 45 MB episode loads fast and saves data. A heavy file can stall halfway, and that listener may not come back. Smart export settings keep your show easy to play on any connection.
If you’re new to podcasting, our guide on how to start a podcast walks you through planning, recording and publishing your first episode. And when you want clean WAV files from the very first take, book a session at our podcast studio in Lahore.
Have a question about recording, export settings or booking a session? Get in touch with our team.
Contact Delenzo StudioFrequently Asked Questions
WAV is better for recording and editing because it’s lossless. MP3 is better for publishing because files are smaller and play on almost every podcast app and device.
For speech, 64 to 96 kbps mono MP3 works well. Use 128 kbps for stereo shows and 192 kbps or higher if your podcast includes a lot of music.
Use 44.1 kHz for audio-only podcasts and 48 kHz if you also record video. Whichever you choose, keep one sample rate across the whole project to avoid sync issues.
Some platforms accept WAV, including Spotify for Creators. Most RSS hosts and Apple Podcasts expect MP3 or AAC, so check your host’s upload rules before sending large WAV files.
Record WAV at 24-bit, using 48 kHz if you also film video. Then export a 96 kbps mono or 128 kbps stereo MP3, which streams smoothly on Pakistan’s mobile data.

