Ever listened to a podcast and thought why does this sound so clean and professional? The answer almost always comes down to one thing: a proper podcast microphone setup. Most beginner podcasters focus on content first, which is smart. But bad audio drives listeners away no matter how good your ideas are. Studies consistently show that poor sound quality is the number one reason people stop listening to a show.
The good news? You don’t need a Hollywood budget to sound great. You just need the right gear, the right settings, and the right environment. A well-planned podcast microphone setup is the foundation of clean, professional sound. Whether you’re setting up at home or planning to record at a professional studio, this guide covers everything in a straightforward, practical way.
By the end, you’ll know exactly what equipment to use, how to position your mic, and why creators in Lahore are choosing Delenzo Studio for results that speak for themselves. Let’s break it all down.
Why Podcast Microphone Setup Matters
Your microphone is the first link in your audio chain. If that link is weak, everything downstream suffers. A poor podcast microphone setup introduces background noise, unwanted echo, and uneven volume levels. These issues are genuinely hard to fix in post-production and some simply can’t be fixed at all.
Therefore, getting the setup right from the very start saves you hours of editing time. In addition, it also protects your listener experience. Because when your audio sounds clean and consistent, people stay. They trust your voice. And that trust is what turns casual listeners into loyal, returning fans.
How Audio Quality Affects Listener Retention
Listeners are forgiving about a lot of things. A stumbled word, a pause, a laugh at the wrong moment those are human and relatable. But bad audio quality is a different story. Research from Spotify and Edison Research both confirm that poor sound is the top reason people abandon a podcast episode before it ends.
When your audio is clean, warm, and balanced, listeners relax into the conversation. They trust you more. They come back for the next episode. On the other hand, a noisy, echoey recording feels amateurish even if your content is brilliant. Good audio tells your audience: this creator takes their work seriously. And that builds loyalty faster than almost anything else.
Common Microphone Setup Mistakes Beginners Make
Every beginner makes mistakes early on. The good news is that most of them are completely avoidable. For example, knowing these common errors upfront saves your recordings from day one.
- Recording in an untreated room. Hard walls create echo and reverb that no microphone can fix.
- Placing the mic too far away. Distance adds room noise and makes your voice sound thin and distant.
- Setting gain levels too high. This causes clipping a harsh, distorted sound that ruins your recording entirely.
- Skipping the pop filter. Without one, plosive sounds on words with P and B hit hard and sound unprofessional.
- Using the wrong mic for the environment. A condenser mic in a noisy room picks up everything. It’s a recipe for disaster.
Dynamic vs Condenser Microphones for Podcasting
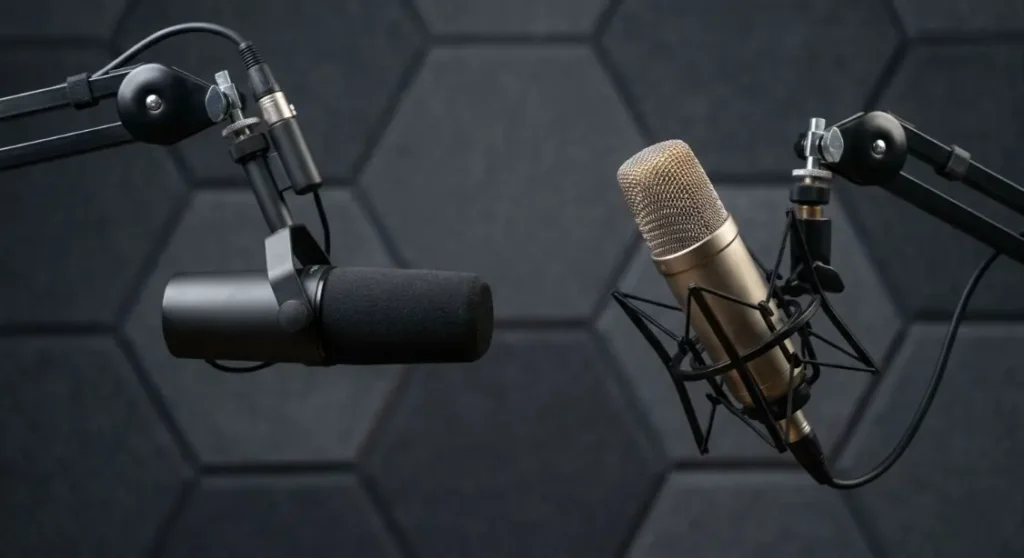
Choosing between a dynamic and condenser mic is one of the first decisions every podcaster faces. Both have real strengths. But they suit very different recording environments. Here’s a clear comparison to help you decide. Choosing the right microphone type is a crucial step in building a reliable podcast microphone setup for your recording environment.
| Feature | Dynamic Microphone | Condenser Microphone |
| Best For | Untreated rooms, home setups | Treated studios, quiet environments |
| Sound Sensitivity | Low — rejects background noise | High — picks up fine details |
| Durability | Very durable, road-tested | More delicate, studio-grade |
| Phantom Power Needed | No | Yes (48V) |
| Price Range | Budget to mid-range | Mid-range to high-end |
| Popular Models | Audio-Technica AT2040 | Rode NT1 |
| Ideal Environment | Home, office, live settings | Professional acoustic studios |
USB vs XLR Podcast Microphone Setup
Once you’ve picked your mic type, the next choice in podcast microphone setup is the connection format. USB and XLR are the two main options. Each serves a different level of podcaster. Here’s what you need to know about both before you buy anything.
USB Microphone Setup for Beginners
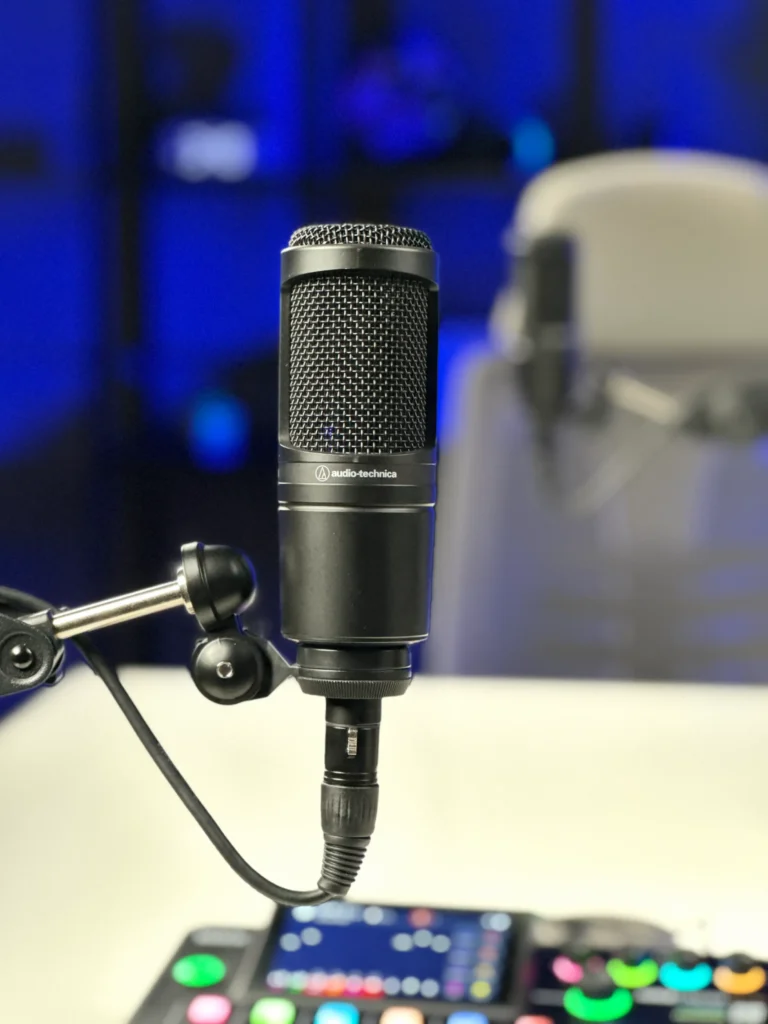
A USB podcast mic setup is the easiest way to start. You plug directly into your laptop and you’re ready to record. No audio interface required. No extra cables or drivers to install. Popular USB mics like the Audio Technica AT2020 or Rode NT-USB deliver solid sound quality for entry-level creators.
However, USB setups have real limitations. You can’t easily run two mics into the same computer for interview-style recording. The onboard preamps in USB mics are also less powerful than dedicated audio interfaces. So, if you’re serious about growing your podcast, USB is a great starting point but not a long-term solution.
XLR Microphone Setup for Professional Podcasts
An XLR setup is what professional podcasters use. You connect your mic to an audio interface via an XLR cable. The interface then connects to your computer. This gives you far more control over gain, EQ, and monitoring. You can also run multiple mics simultaneously perfect for interview-format shows.
Popular XLR combinations include the RØDE NT1 (5th Gen) with a Focusrite Scarlett 2i2 interface. The sound difference between USB and XLR is noticeable especially on dynamic mics. In contrast, if you’re planning to record at a professional studio like Delenzo Studio, the team sets up XLR equipment in advance so your session is ready to go.
Essential Gear for a Podcast Microphone Setup
A microphone alone isn’t enough. The accessories around it play a huge role in the final sound you capture. Getting these right is what separates a good recording from a great one. Here are the pieces every serious podcaster needs in their setup.
Boom Arms, Pop Filters, and Shock Mounts
A boom arm holds your mic at the perfect angle without cluttering your desk. More importantly, it lets you position the mic close to your mouth right where it performs best. A pop filter sits between you and the mic. It softens plosive sounds like P, B, and T that create harsh bursts of air on recordings.
A shock mount is equally important. It isolates your microphone from desk vibrations, keyboard clicks, and accidental bumps. Without one, those low-frequency rumbles bleed right into your audio. Similarly, these three accessories make a significant difference in recording clarity. They’re small investments that deliver a noticeably cleaner sound every single time.
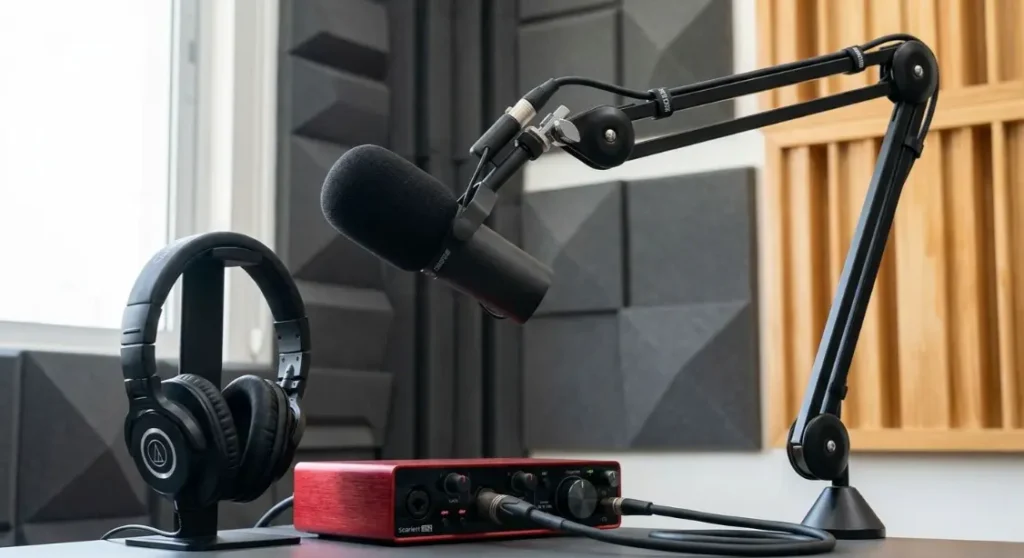
Audio Interfaces and Monitoring Headphones
An audio interface converts your microphone’s analogue signal into a digital one your computer understands. It also controls your gain and allows real-time monitoring. The Focusrite Scarlett series is a trusted choice at every level from beginner to professional. For two-person interviews, you need an interface with at least two XLR inputs.
Monitoring headphones let you hear exactly what the microphone is picking up in real time. This helps you catch issues like room noise or clipping before they ruin your take. Closed-back headphones are best for recording. They prevent sound bleed from the earphones back into the mic. The Audio-Technica ATH-M40x are reliable, professional-standard choices.
How to Set Up a Podcast Microphone (Step-by-Step)
Setting up your mic correctly takes less than ten minutes. But doing it right makes a huge difference. Following a simple routine ensures your podcast setup delivers consistent sound quality every time you record.
Correct Microphone Distance and Position
Position your mic 6 to 8 inches from your mouth. This is close enough to capture your voice clearly without picking up excess room noise. Angle the mic slightly off-axis about 15 degrees away from your direct breath path. This reduces plosives naturally, even without a pop filter. Speak across the mic rather than directly into it. Keep your posture consistent throughout the session. Moving away from the mic mid-sentence causes noticeable volume dips. Meanwhile, small adjustments in positioning make a big difference in your final recording.
Setting Gain Levels and Avoiding Clipping
Set your input gain so your voice peaks around -12 dB to -6 dB on your audio interface. This gives you enough headroom to avoid clipping when you raise your voice. Clipping happens when the signal peaks above 0 dB. It creates a harsh, crackling distortion that cannot be fixed in post-production. Always do a 30-second test recording before your actual session begins. Listen back through your headphones and check levels carefully. Then, it takes two minutes and saves you from discovering a ruined recording afterwards.
Home Podcast Setup vs Professional Studio
Both options work. However, they deliver very different results. Here’s a side-by-side look at what you actually get with each choice.
| Factor | Home Setup | Delenzo Studio Lahore |
| Acoustic Treatment | Usually untreated — echo and noise | Fully soundproofed professional room |
| Microphones | Self-purchased, variable quality | Professional XLR mics, tested and calibrated |
| Camera & Lighting | DIY ring lights, webcams | Studio cameras, pro lighting rigs |
| Technical Support | You troubleshoot everything alone | On-site team handles all technical issues |
| Setup Time | 30–60 minutes every session | Zero — ready when you arrive |
| Audio Interface | Self-purchased and configured | Professional interface, pre-configured |
| Recording Environment | Ambient noise, variable conditions | Controlled, quiet, broadcast-ready |
| Cost Over Time | High upfront investment builds up | Pay-per-session, no hidden costs |
Professional Podcast Recording at Delenzo Studio Lahore
If you want broadcast-quality results without buying and configuring everything yourself, Delenzo Studio in Lahore is where serious podcasters come to record. Located in the heart of Lahore, the studio is purpose-built for podcast creators, content teams, and brands who want their audio to sound polished from episode one.
The studio features a fully treated acoustic room that eliminates echo and background noise completely. You get access to professional XLR microphones, a calibrated audio interface, studio-grade cameras, and professional lighting all set up before you arrive. There’s no setup time wasted. No technical troubleshooting mid-session. Just you, your guest, and a clean, focused recording environment.
Booking is flexible; morning, afternoon, or evening sessions are available. The on-site team handles every technical detail so you can stay in the conversation. Consequently, whether you’re recording your very first episode or your hundredth, a proper podcast microphone setup at Delenzo makes the difference you can actually hear. Your audience will notice it too. Likewise, your production workflow becomes faster and far more efficient with every session.
Common Podcast Microphone Setup Mistakes
Even experienced podcasters fall into these traps. The difference between a good recording and a frustrating one often comes down to small, avoidable errors. Specifically, knowing them in advance keeps your recordings consistently clean, professional, and ready to publish without hours of repair work.
- Recording in an untreated room: Even the best podcast microphone can’t overcome bad room acoustics. Acoustic panels, thick curtains, and soft furnishings all help absorb sound reflections effectively.
- Using the wrong mic for your environment: A condenser podcast microphone in a noisy room picks up everything your air conditioner, traffic, keyboard clicks. In those conditions, a dynamic mic is always the smarter choice.
- Skipping the test recording: This mistake costs people hours of rework. Always do a short test before the real session begins. Listen back carefully through closed-back headphones and adjust as needed.
- Inconsistent mic distance: This ruins audio balance across an episode. Set your distance at the start and stay disciplined about maintaining it.
A solid, repeatable podcast microphone setup routine is what separates hobbyists from professionals. Build good habits early and your recordings will reflect it every single time.
Frequently Asked Questions
What is the best microphone setup for a podcast?
The best podcast microphone setup includes a dynamic XLR mic, an audio interface, a boom arm, a pop filter, and a shock mount all inside a treated room. For beginners, a USB mic works fine. But for professional-quality sound, an XLR setup always delivers better results.
Can I use a wireless mic for podcasts?
Yes, but with caution. Wireless mics are convenient for on-location recording. However, they introduce latency, signal dropouts, and compression artifacts. For studio podcast recording, a wired XLR or USB microphone always delivers cleaner, more reliable audio. Use wireless only when a wired setup genuinely isn’t possible.
Do I need an audio interface for podcast microphones?
You need an audio interface if you’re using an XLR microphone. It converts your mic’s analogue signal into digital audio your computer understands. It also controls gain and allows real-time monitoring. USB mics connect directly without one. But for professional, multi-mic interview setups, an audio interface is essential.
How far away should I be from my podcast mic?
Stay 6 to 8 inches away from your microphone. This distance captures your voice clearly while minimizing room noise. Too close causes plosives and distortion. Too far makes your voice sound thin and adds unwanted echo. Consistent mic distance keeps your audio quality balanced throughout the entire episode.
Why does my podcast microphone sound echoey?
Echo happens when your recording room has hard, reflective surfaces. Sound bounces off walls, ceilings, and floors back into your mic. The fix is acoustic treatment foam panels, thick rugs, heavy curtains, or soft furniture. Even a wardrobe full of clothes works. Room treatment solves echo faster than any microphone upgrade.
Where can I record a podcast with professional microphones in Lahore?
Delenzo Studio in Lahore offers a fully soundproofed recording room with professional XLR microphones, audio interfaces, and studio lighting all ready before you arrive. It’s ideal for interview podcasts, solo shows, and branded content. No setup required. Just book your session and record with confidence from day one.